In this post we install and configure an instance of Ubuntu Server
under WSL2 for Linux. Many developers are going to choose to use WSL2,
so we guide them to install the Ubuntu Server version of WSL2. This
provides a more standard environment referenced by many howto procedures
on the Internet.
WSL2 enables a computer running Windows 11 Pro to host a guest instance of Ubuntu Server:
WSL2 offers some advantages for a developer experience
WSL2 offers some advantages for a local developer in terms of
networking: if they install a service that opens a port, like port
22/tcp for SSH, that same port is opened on localhost of the Windows
machine hosting the WSL2 Ubuntu Server instance. A developer can SSH to
port 22 on localhost, without configuring a static IP address or port
forwarding. This eliminates the need to configure virtual switches,
static IP addresses, and port forwarding. In addition, WSL2 provides a
file mounts of the Windows file system within Linux, and a file mount of
the Linux filesystem within Windows.
Other ways to install Ubuntu Server on a Windows 11 Pro computer
There are other ways to install Ubuntu Server on a Windows 11 Pro
computer, including Windows Hyper-V. If you need to host multiple
instances of Ubuntu Server with static IP addresses and subnet routing,
consider using Hyper-V instead.
Installing WSL2
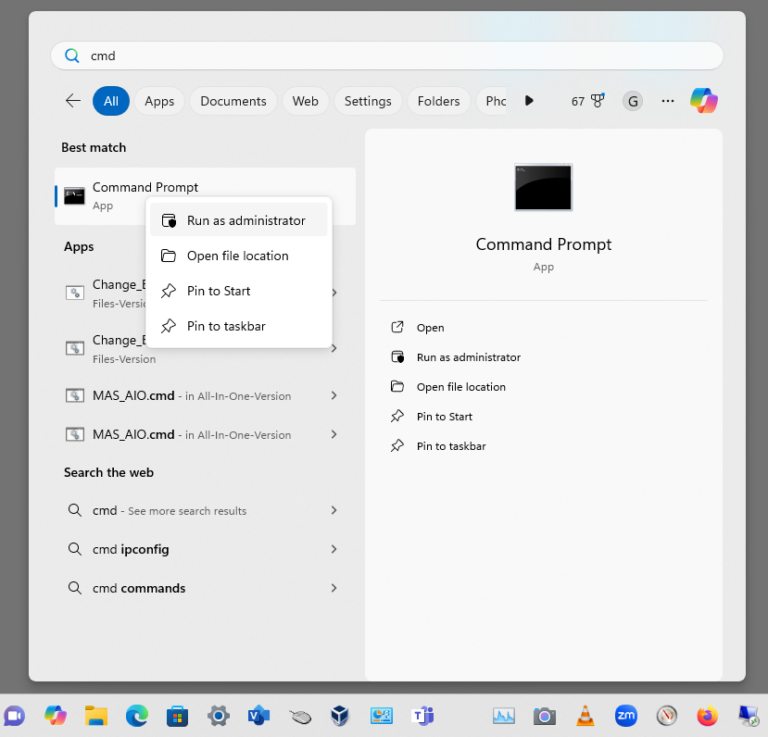
Start a CMD window as Administrator. At the Start menu, type the
letters “cmd” then right-click on the app icon to run the command prompt
as root:
Enter the following command:
Code: Select all
1powershell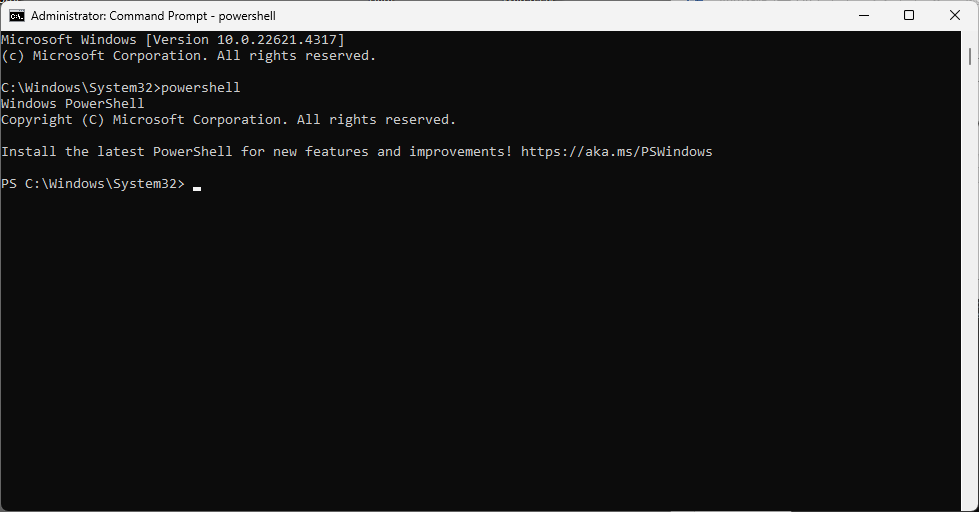
Enter the following command:
Code: Select all
1wsl --install -d Ubuntu-24.04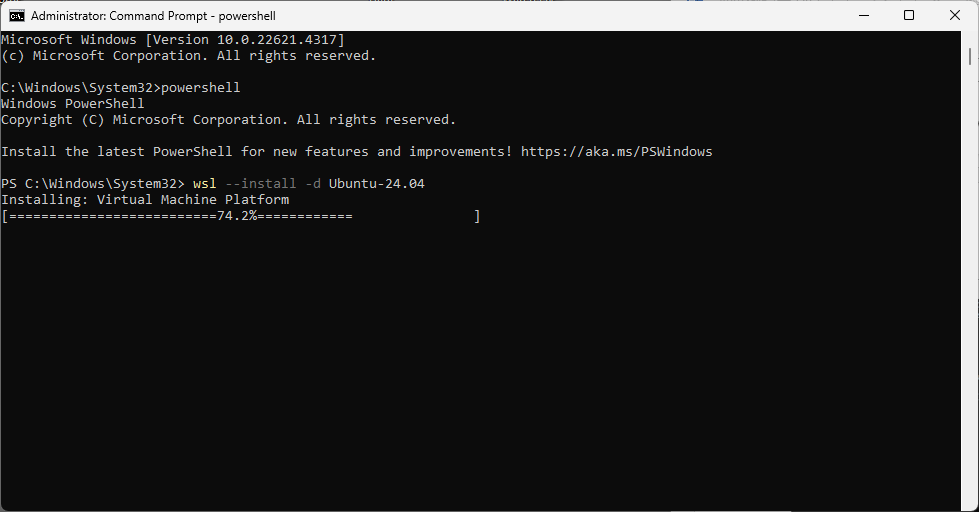
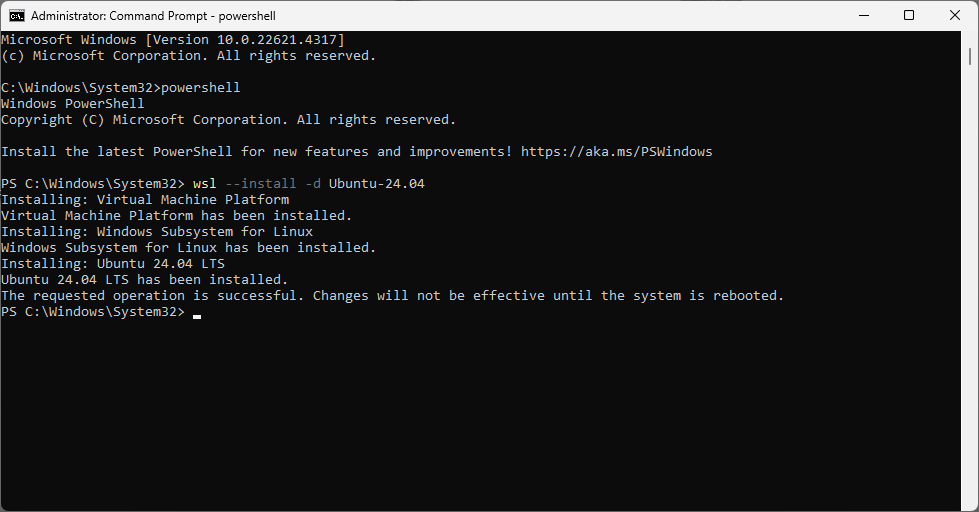
Reboot your computer.
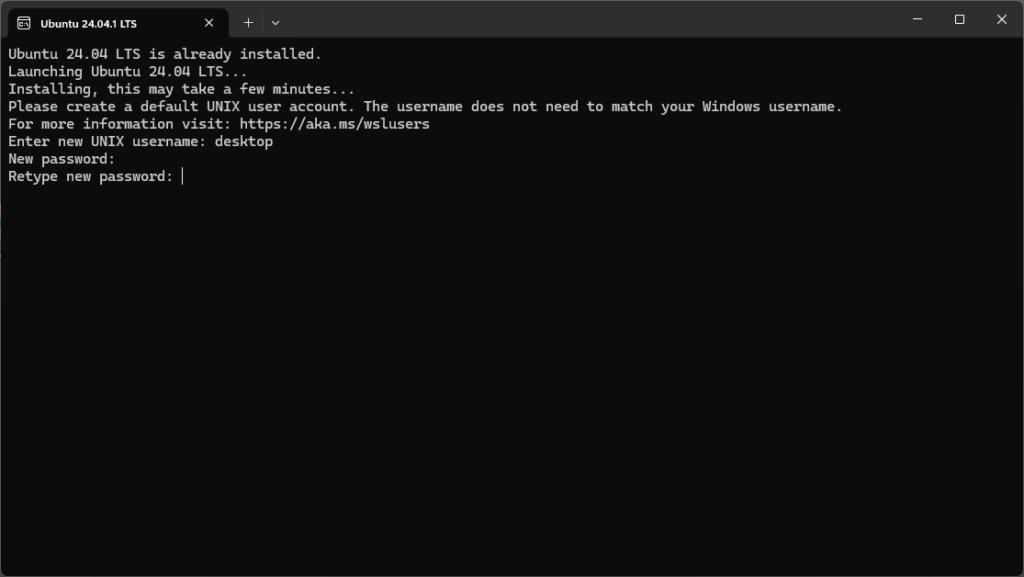
Enter values for username and password:
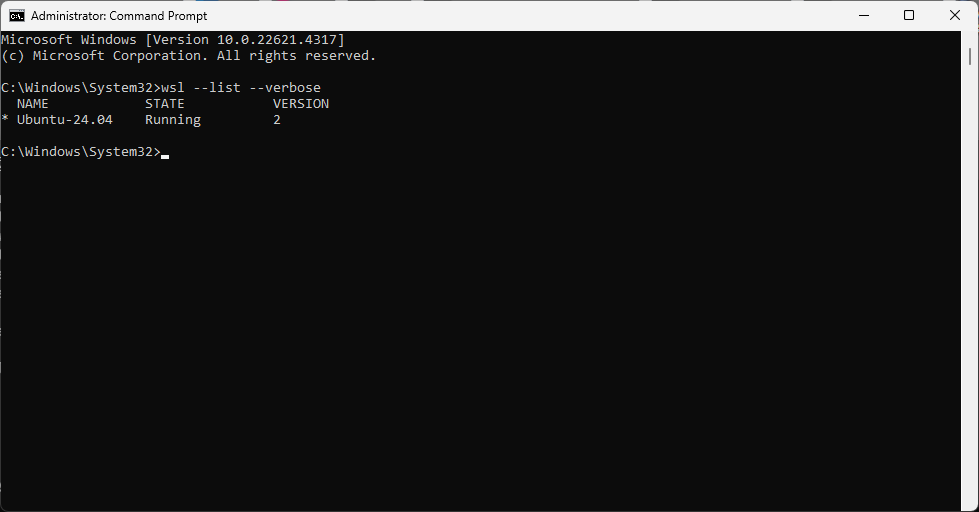
Enter the following command from a CMD window running as Administrator:
Code: Select all
1wsl --list --verbose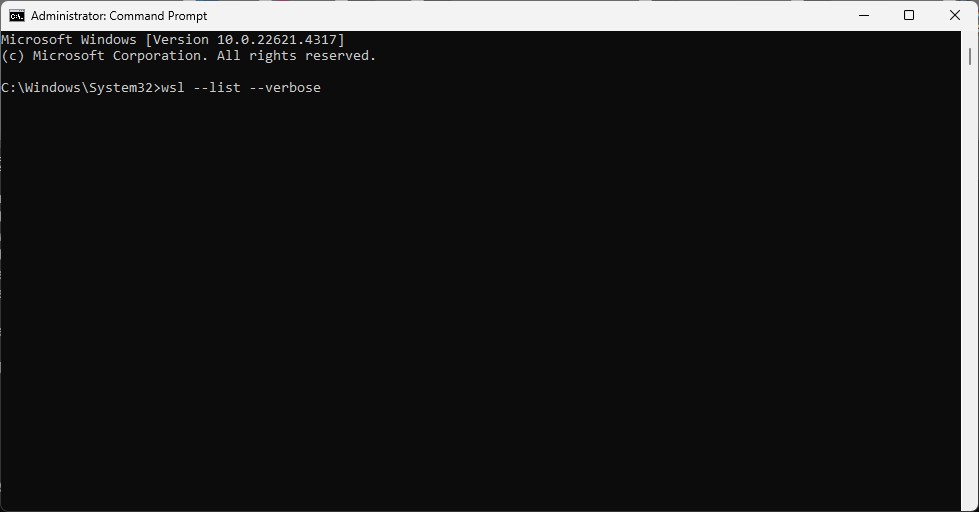
Enter the following command:
Code: Select all
1wsl --setdefault Ubuntu-24.04
Enter the following command:
Code: Select all
1wsl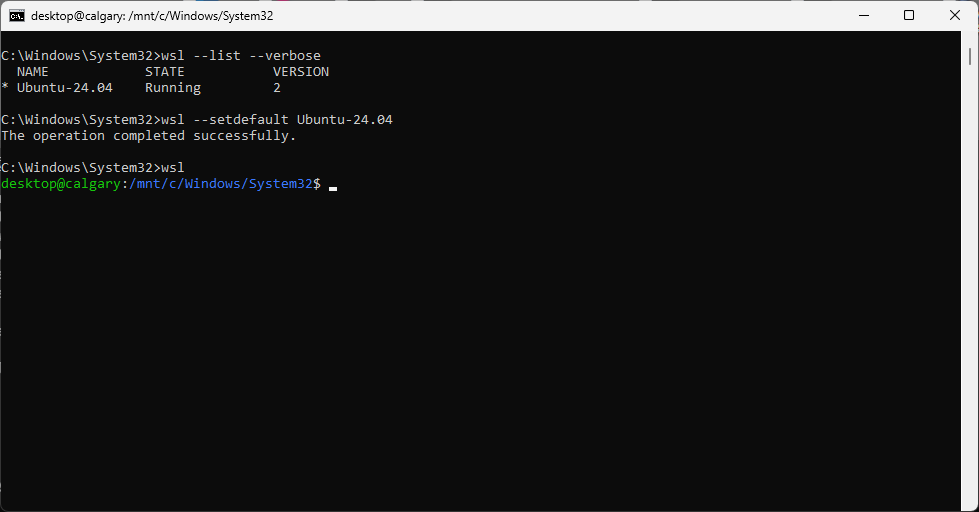
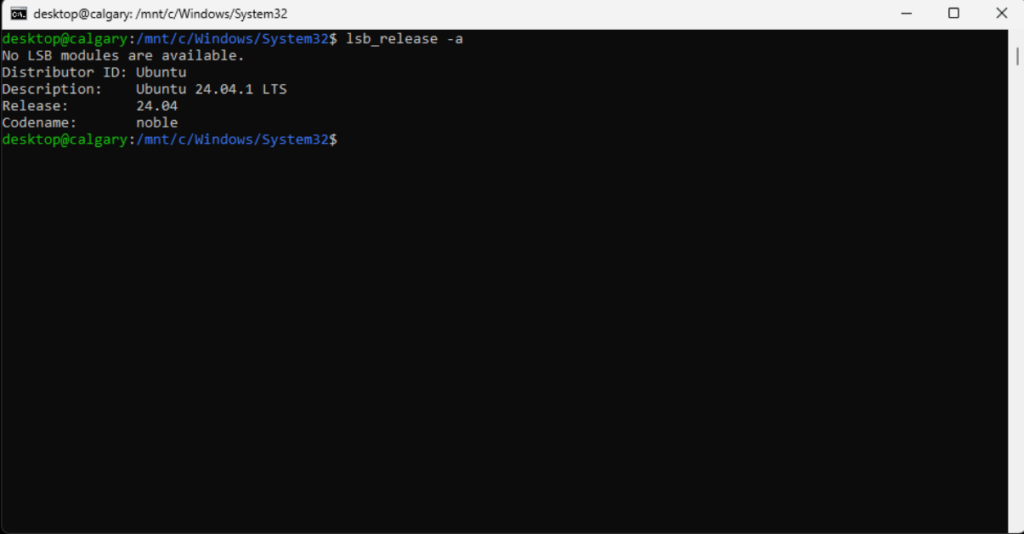
Enter the following command:
Code: Select all
1lsb_release -a
Enter the following command:
Code: Select all
1sudo su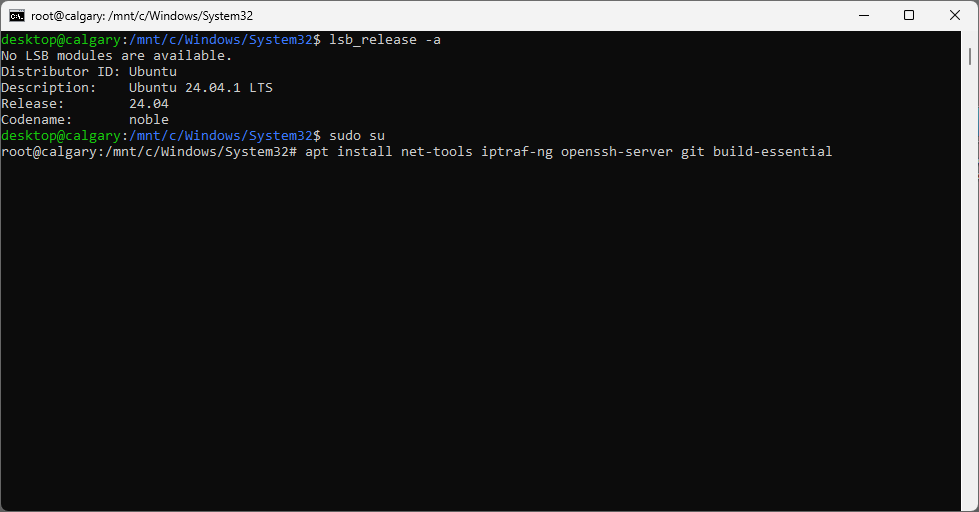
Updating apt packages on the Linux system
Enter the following commands:
Code: Select all
12apt cleanapt update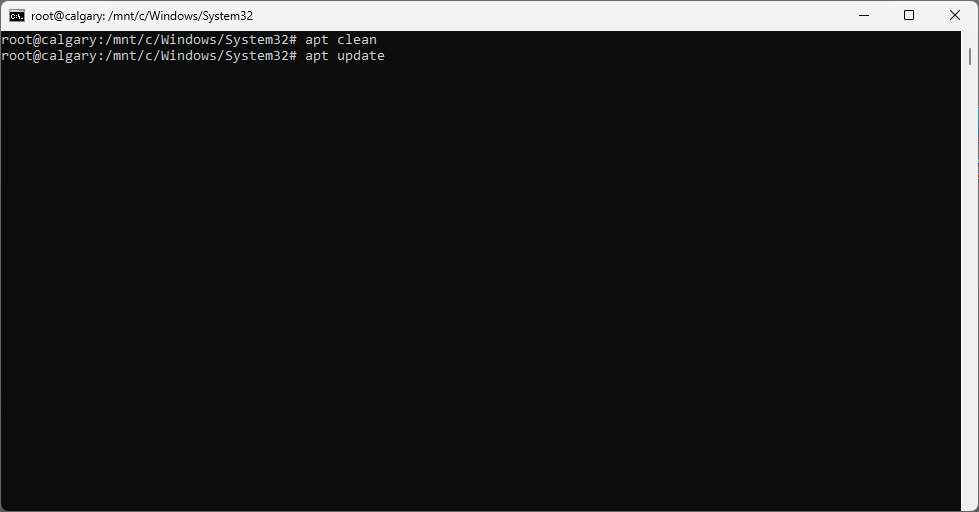
Enter the following command:
Code: Select all
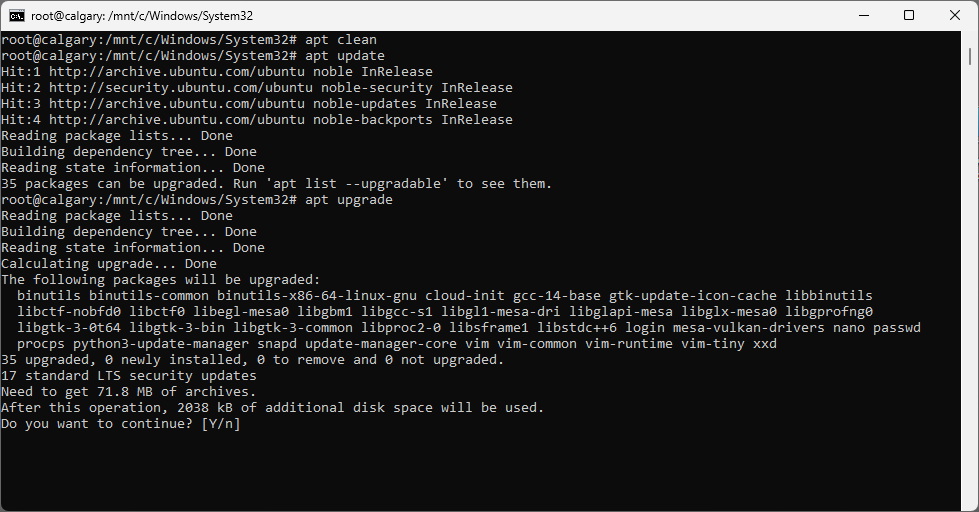
1apt upgrade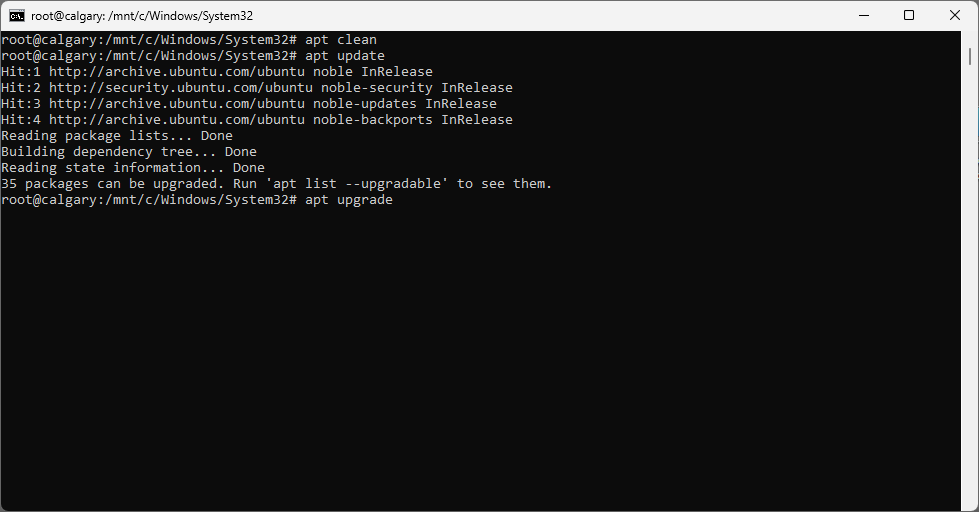
Enter y for yes:
Enter the following command:
Code: Select all
1reboot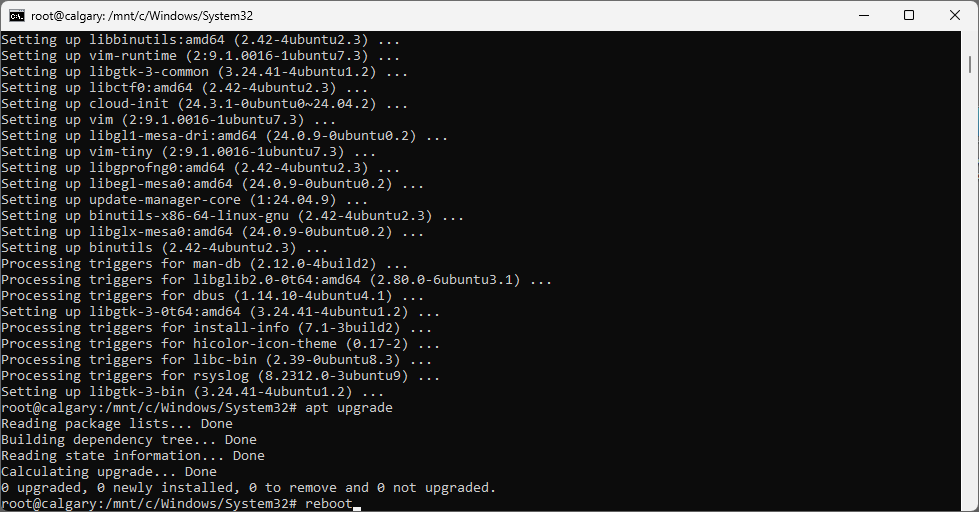
from a CMD window running as Administrator, enter the following command:
Code: Select all
1wsl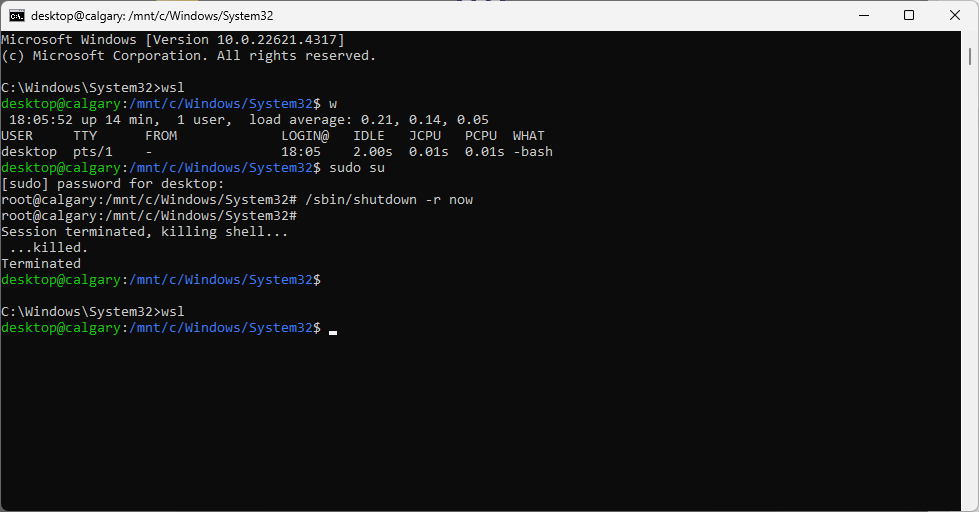
Installing some utilities
Enter the following commands:
Code: Select all
12sudo suapt install net-tools git build-essential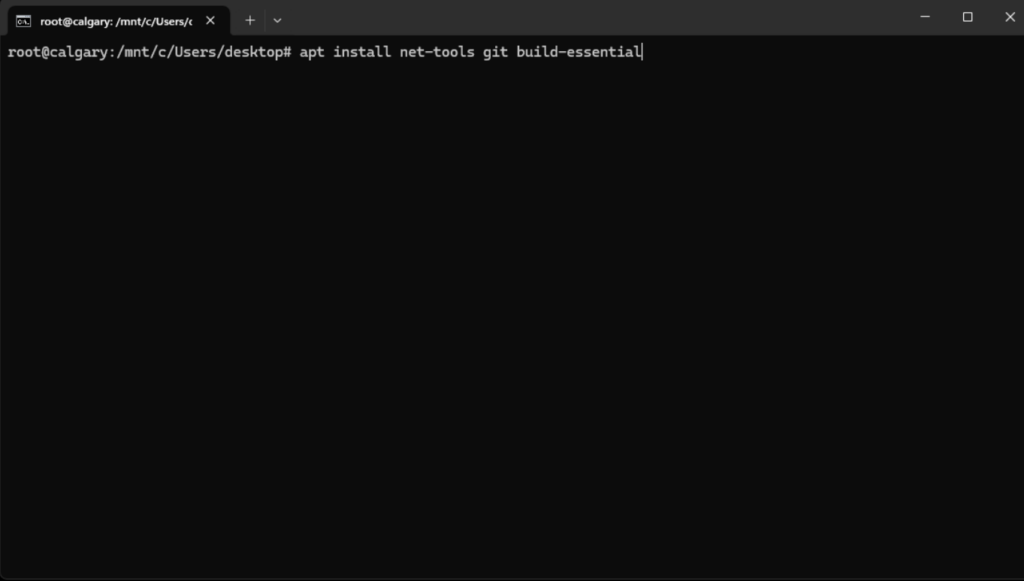
Installing openssh-server
Enter the following command:
Code: Select all
1apt install openssh-server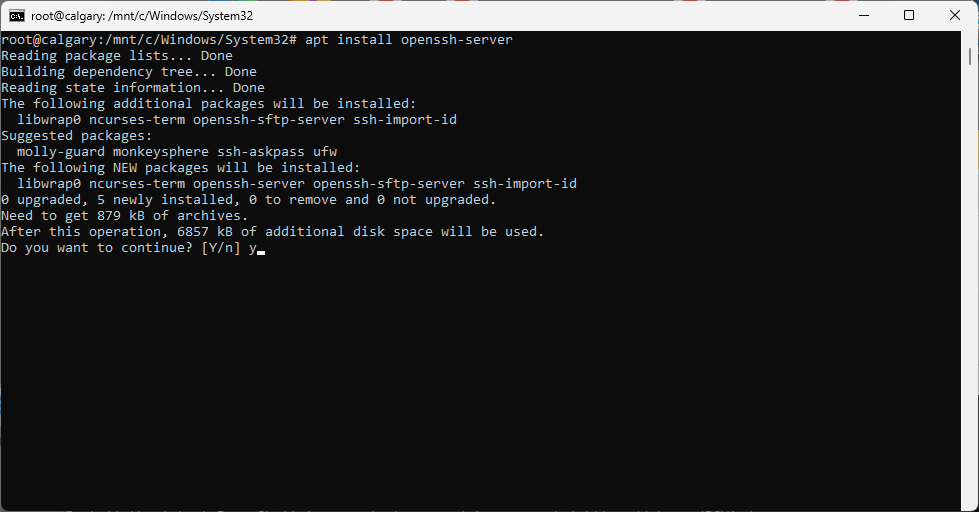
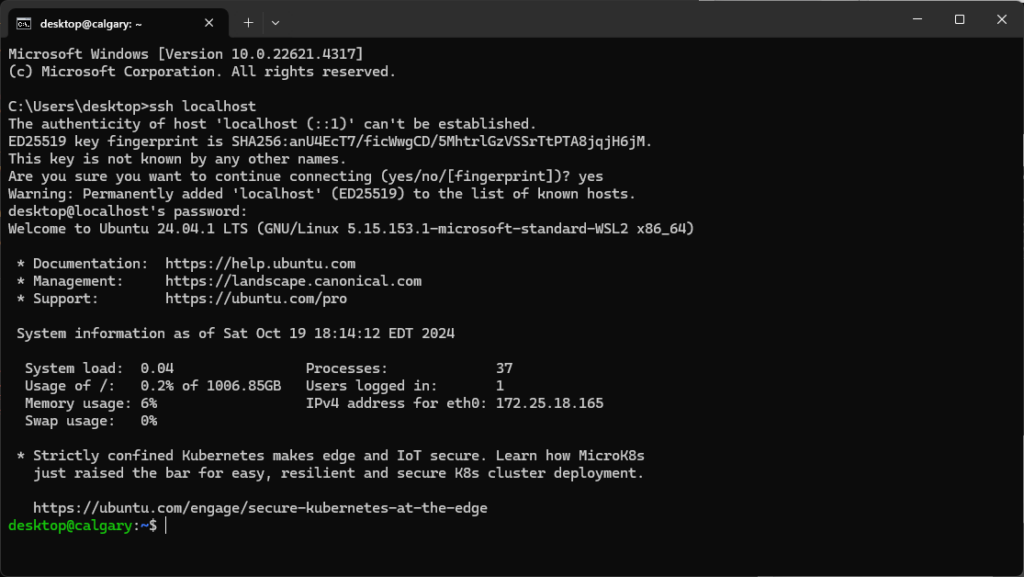
From a CMD window running as Administrator, enter the following command:
Code: Select all
1ssh localhost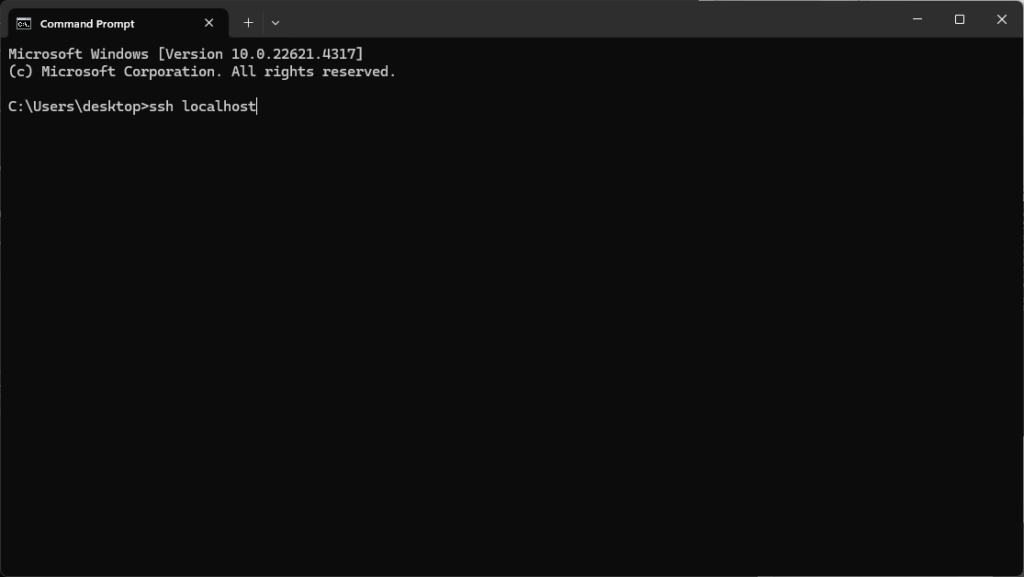
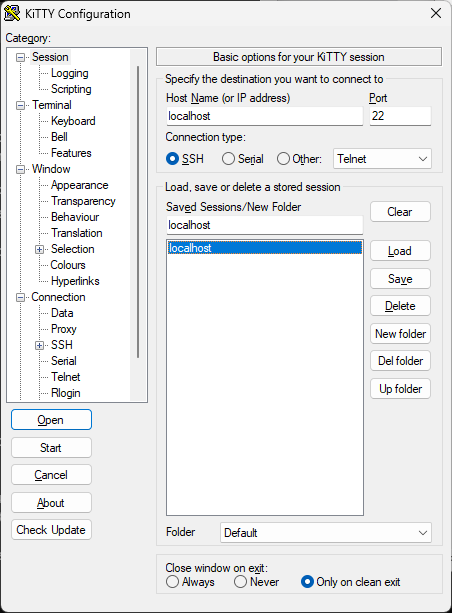
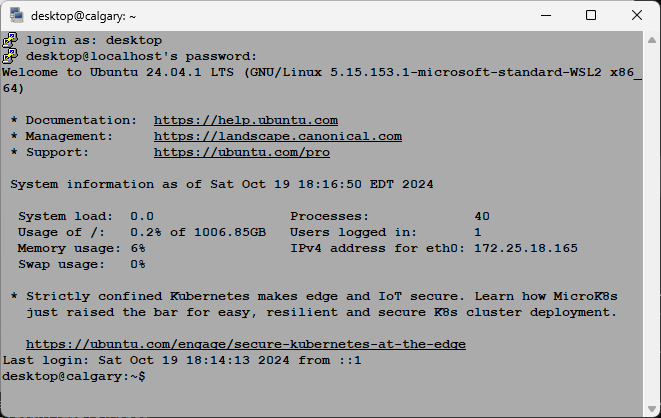
From KiTTY SSH terminal:
Create and save a session called localhost pointing to the host localhost:
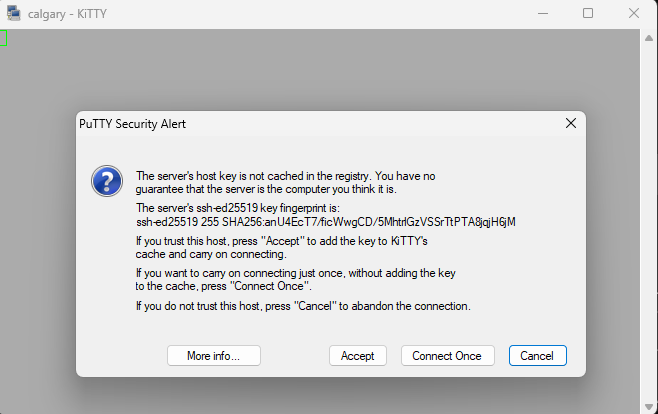
Click on “Accept”:
Accessing the Windows file system within Linux
Look at the mountpoint:
Code: Select all
1/mnt/c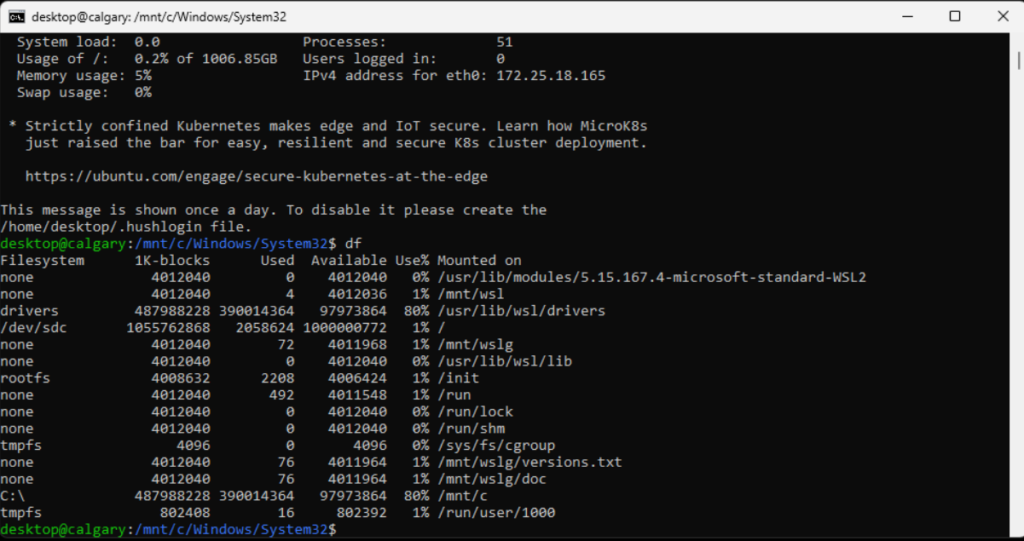
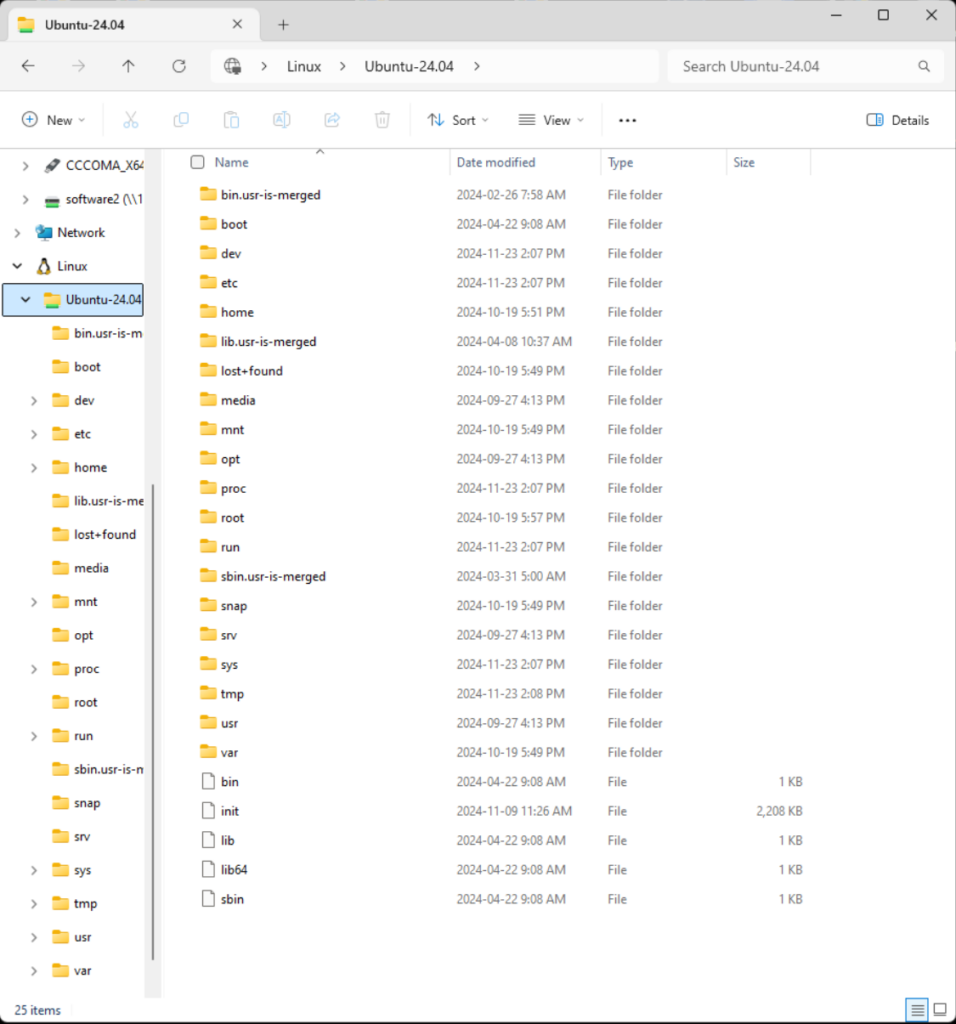
Accessing the Linux file system within Windows
From File Explore on Windows, look for the Linux device icon:
Exposing the SSH port on the public IP address of the Windows computer
From a CMD window run as Administrator, enter the following command:
Code: Select all
1ipconfig /all | more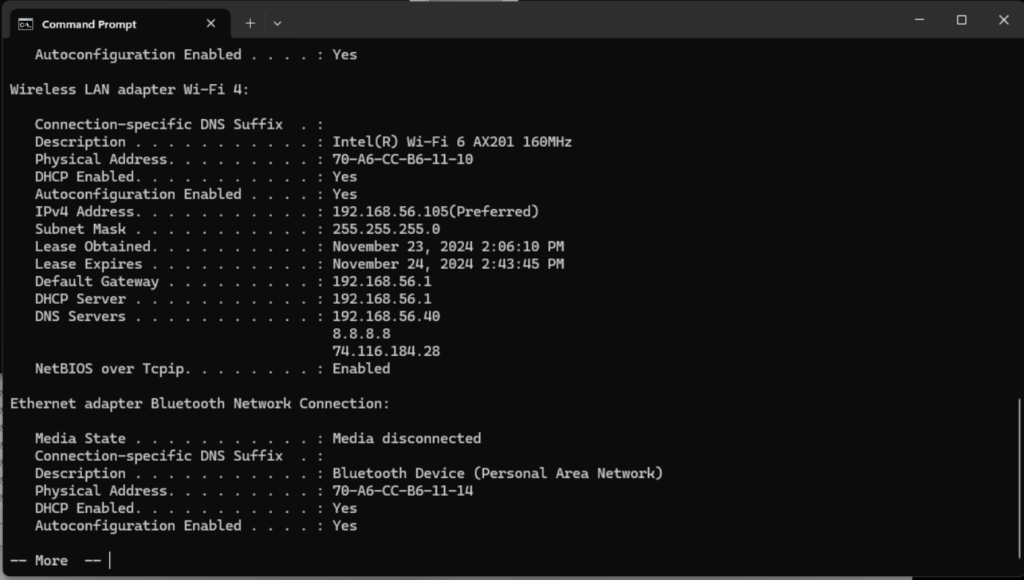
From a shell on the Linux instance, enter the following command:
Code: Select all
1ifconfig | less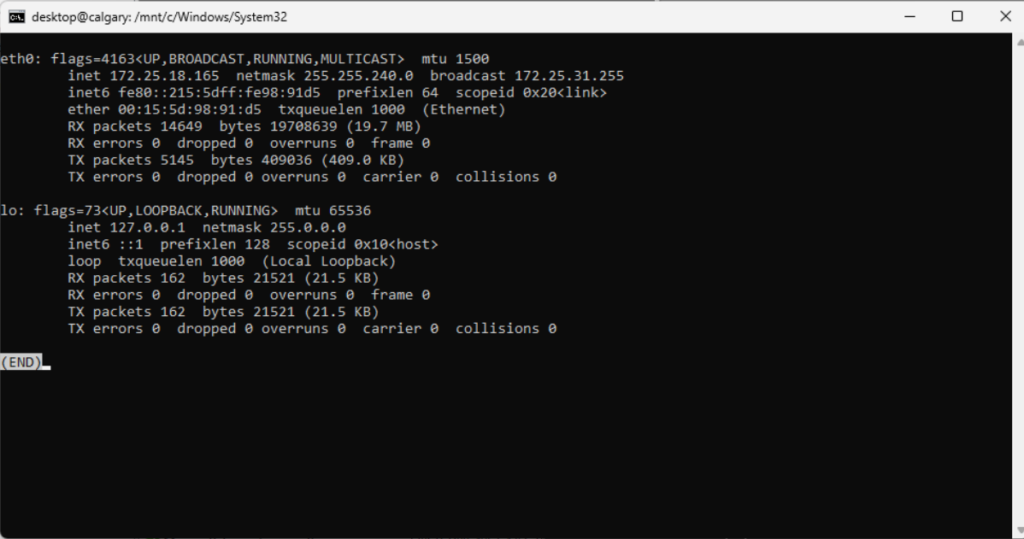
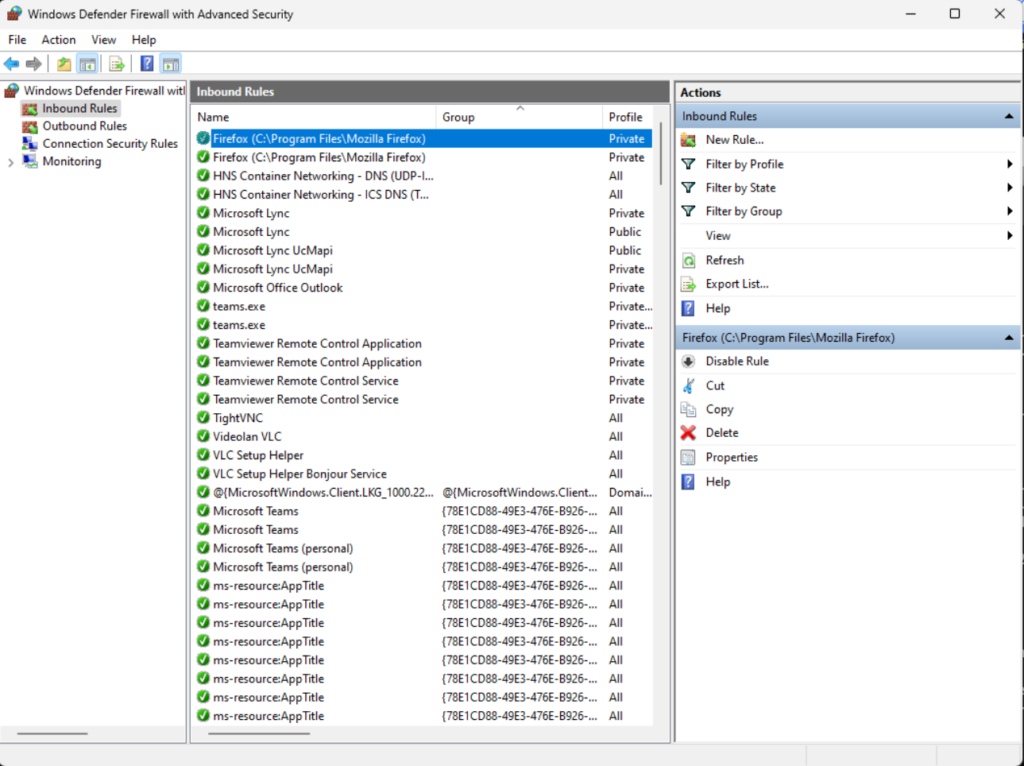
Opening a firewall exception for port 22/tcp (SSH) inbound on the Windows computer
Click on “New Rule…”:
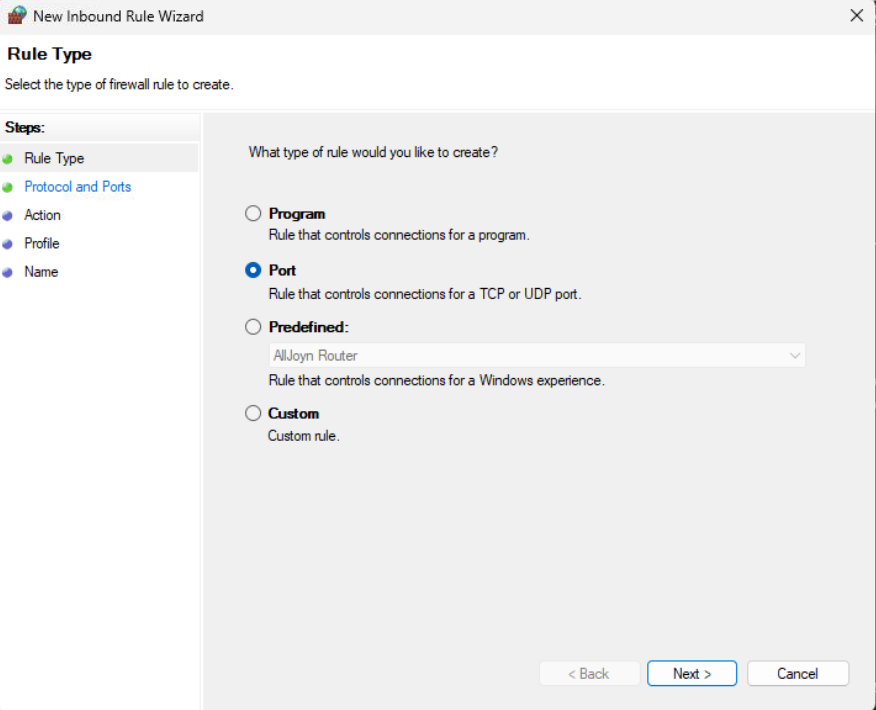
Select “Port”, click on “Next”:
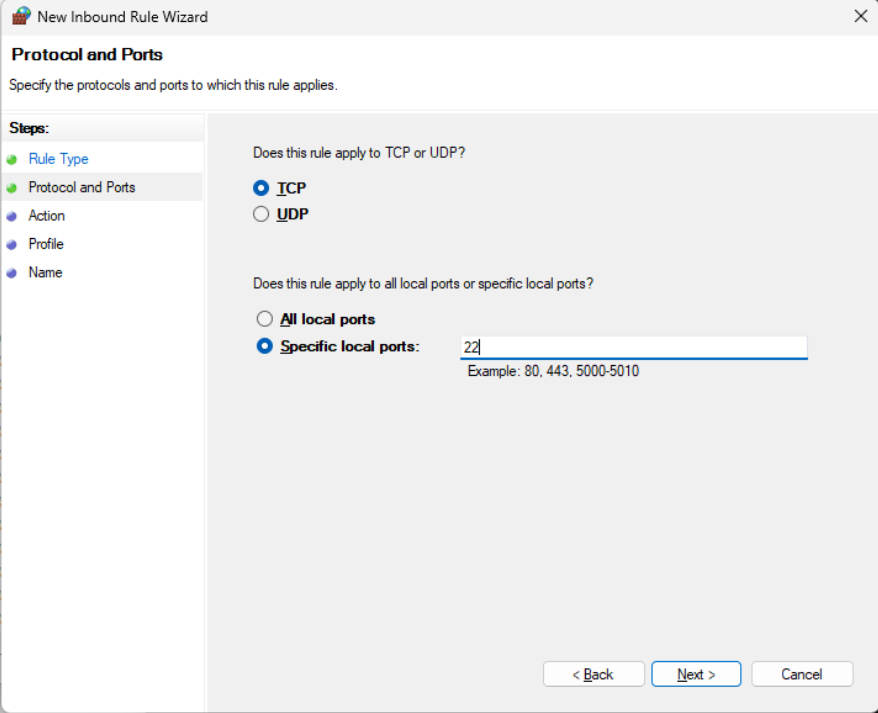
Select “TCP”. Select “Specify local ports”, enter the value 22. Click Next:
Select “Allow the connection”, click “Next”:

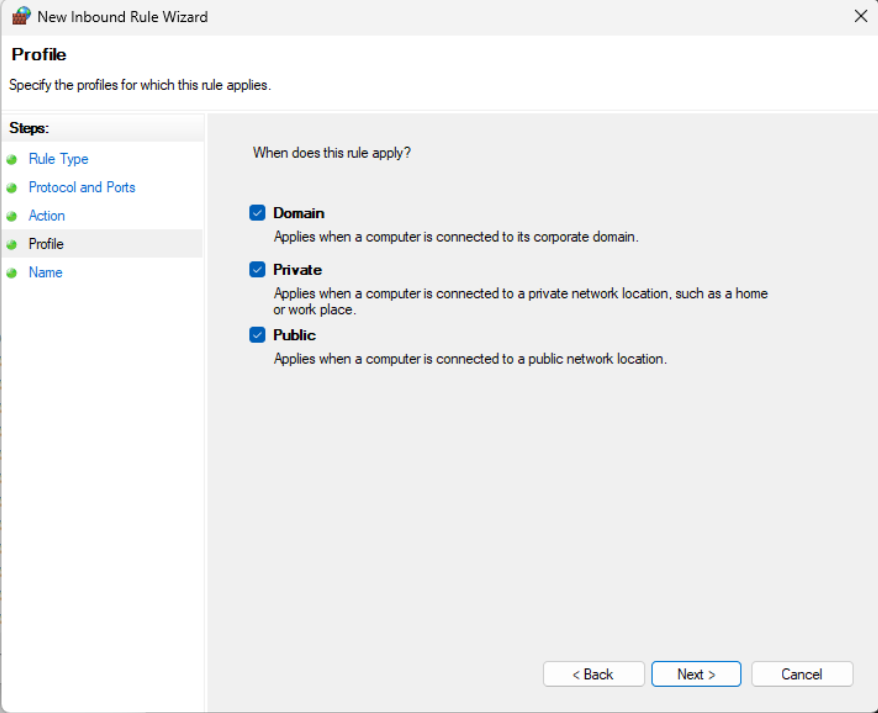
Ensure that “Domain”,”Private”,”Public” are selected. Click “Next”:
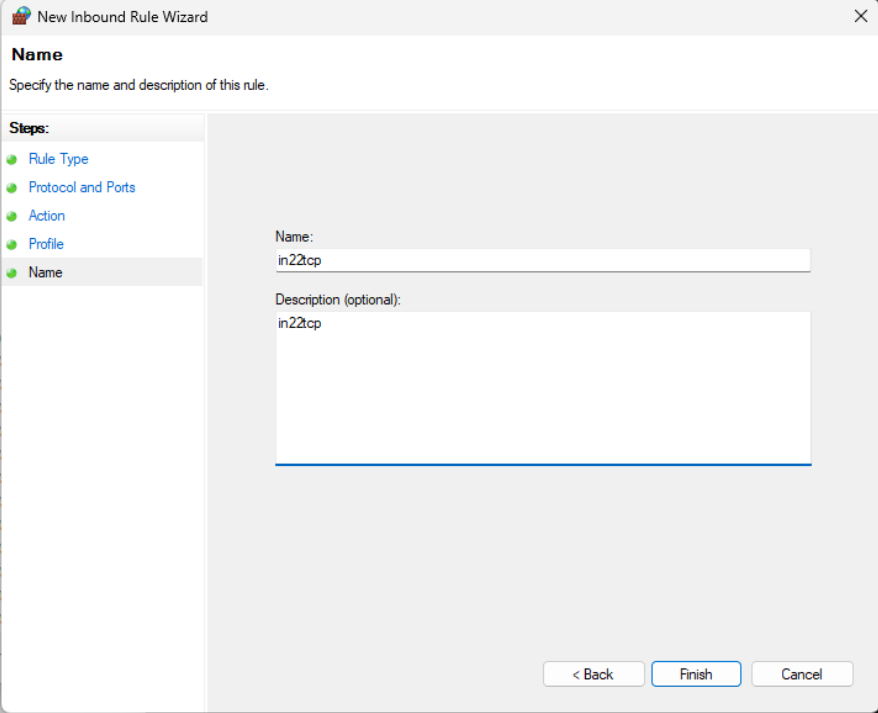
For “Name” enter the value: in22tcp
For “Description (Optional):” enter the value: in22tcp
Click “Finish”:
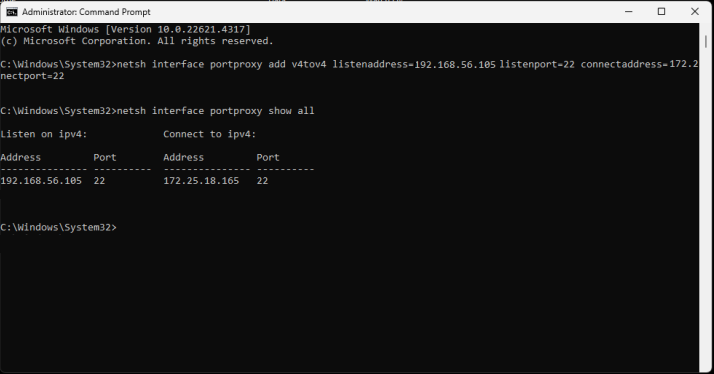
Allowing connections to port 22/tcp of the Linux instance via the public IP address of the Windows Computer
From a CMD window running as Administrator, enter the following commands (subtitute appropriate values for windowsip and wsl2ip:
Code: Select all
1netsh interface portproxy add v4tov4 listenaddress=windowsip listenport=22 connectaddress=wsl2ip connectport=22Code: Select all
1netsh interface portproxy show all